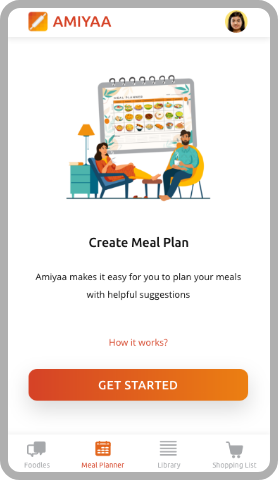
How it Works
There are many ways you can make your Meal Plans on Amiyaa. Let’s get started
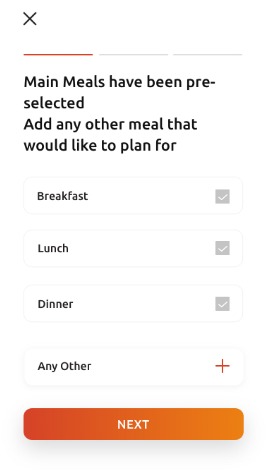
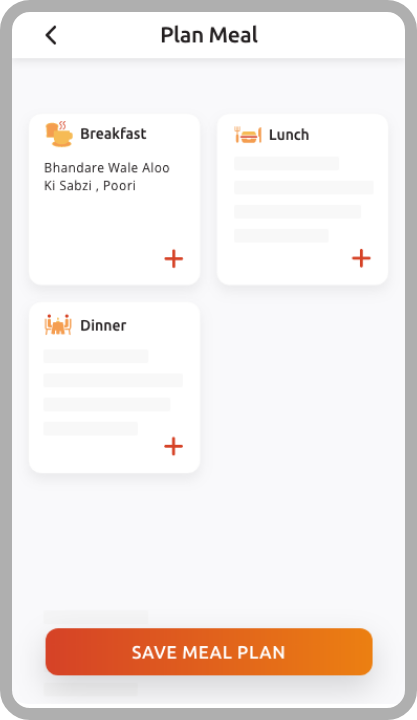
Breakfast Lunch & Dinner are default selections. To add any other meal press on the + sign on the Any Other tab
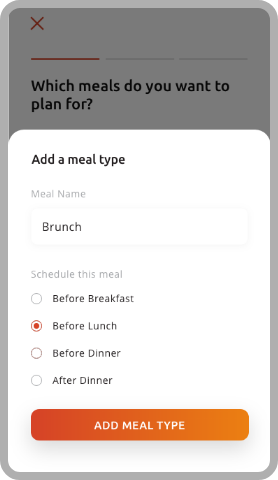
Add and Schedule any other meal that you want to plan for
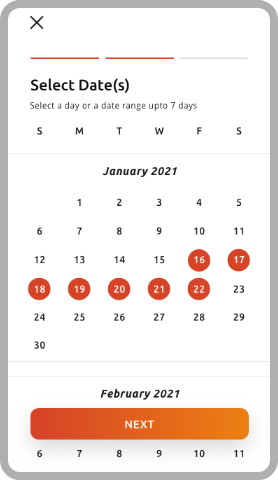
Select the date you want to plan the meals for
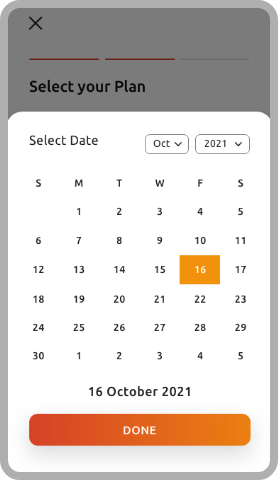
You can select upto 7 days
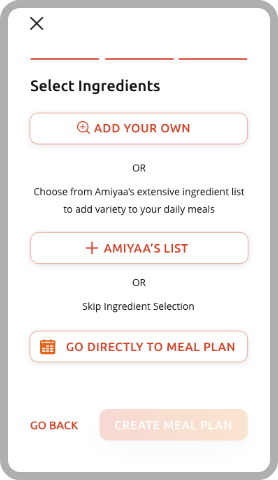
Once you are done with this, you can make your meal plans by either of the following ways:
-
Meal Planning using ingredients available with you Add Your Own
-
Meal Planning using Amiyaa’s list of ingredients Amiyaa's List
-
Meal Planning from the options saved in your Library Go Directly to Meal Plan
-
At any point of time, you can use a combination of any of the above ways to make your Meal Plan too
How to plan Meals from Ingredients available with you at home?
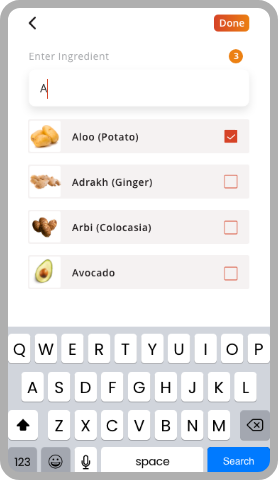
From the Select ingredients screen, please select add your own

Type the ingredients available with you in the Add Your Own bar
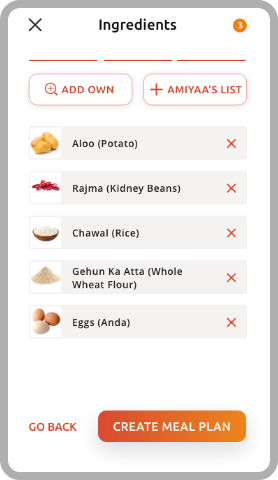
Repeat above steps till all required ingredients have been selected. Once done, press on Bottom Tab of CREATE MEAL PLAN
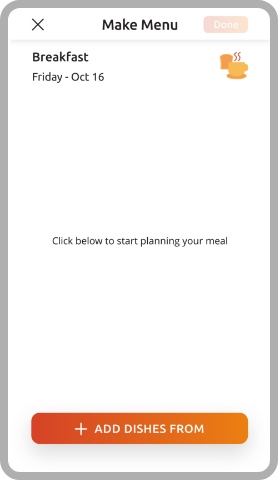
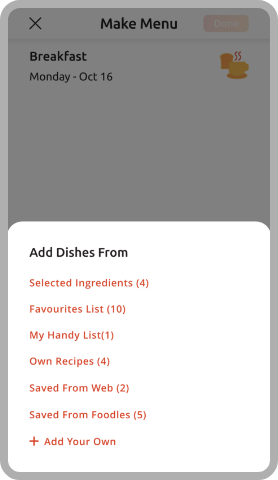
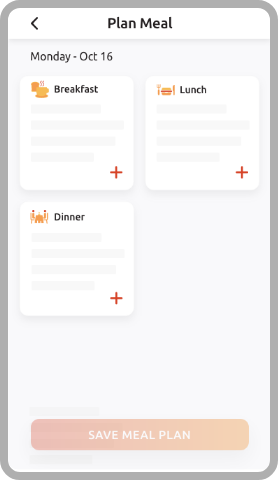
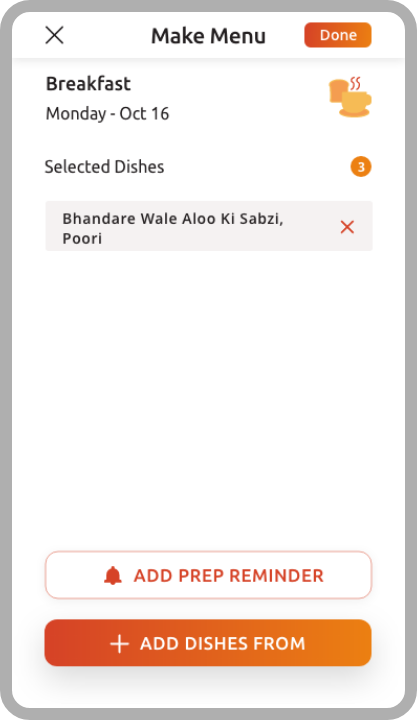
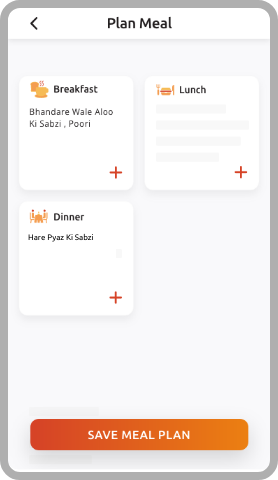
Select the meal to plan for by tapping on the + sign in the meal box

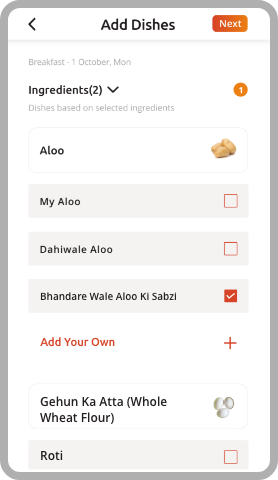
Click on the bottom tab + Add Dishes from and add dishes from Selected Ingredients
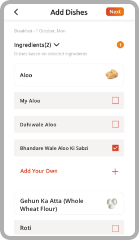
Select Ingredients for your chosen meal from the shortlist and press DONE

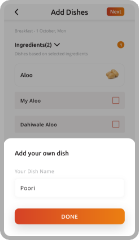
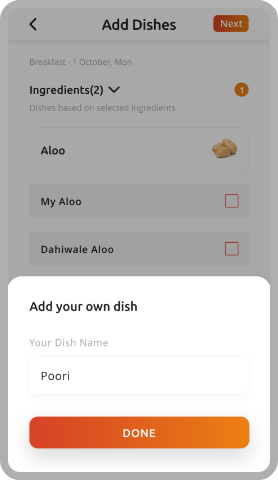
Select from the dish options suggested by Amiyaa or add your own and press DONE
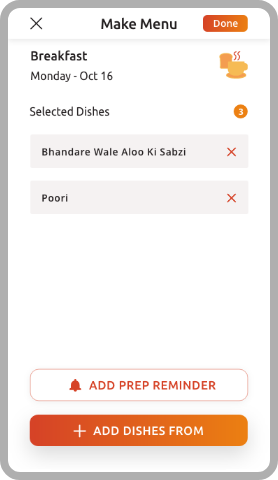
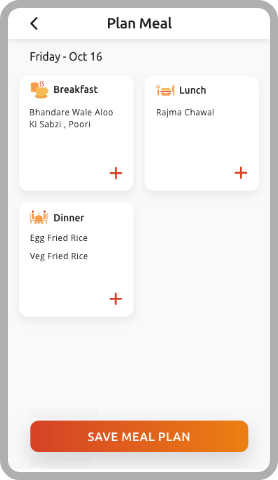
If all looks good, press the DONE button on top right corner
Select the next meal to plan for as you did in Step 3 and proceed similarly
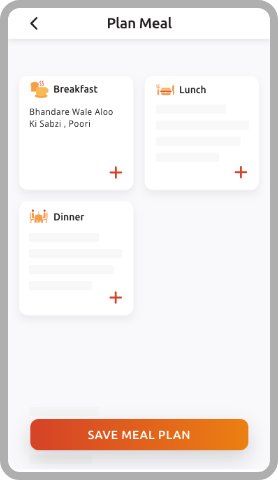
When all meals have been planned for, click on SAVE MEAL PLAN

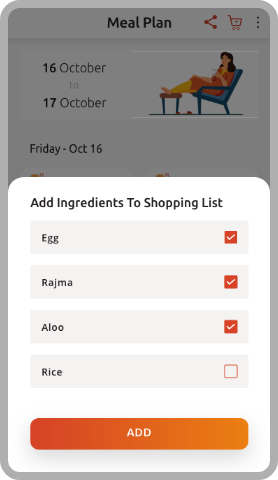
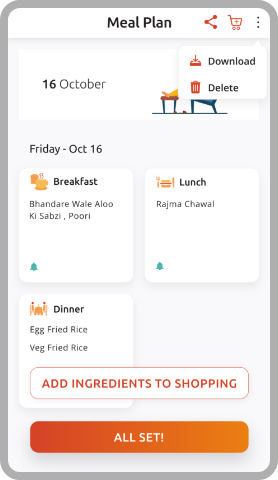
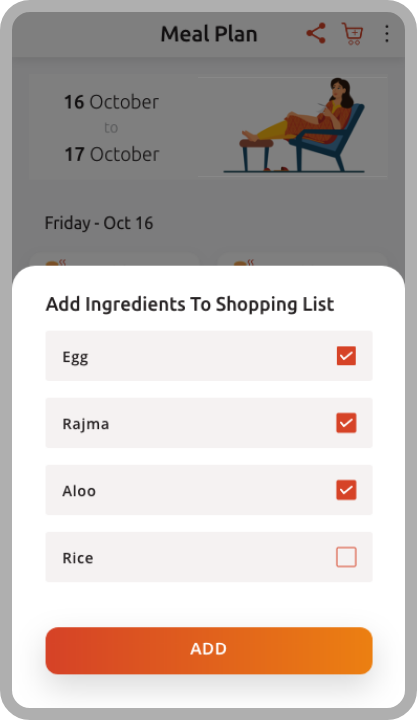
You can add ingredients of your meal plan to your Shopping List by clicking on the Shopping Cart Icon on top right corner of the screen


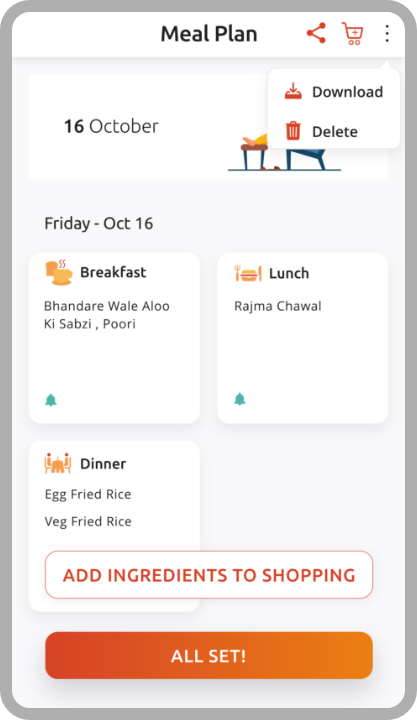
You can download the meal plan into your Photo Gallery by clicking on the three dots arranged vertically on top right corner of the screen
You may also choose to Delete the meal plan from here and start afresh

NOTE: If you exit this module at any time before Saving Meal Plan, you will risk losing all data. You must therefore SAVE MEAL PLAN before exiting
How to Plan your Meals from Ingredients in AMIYAA’s List
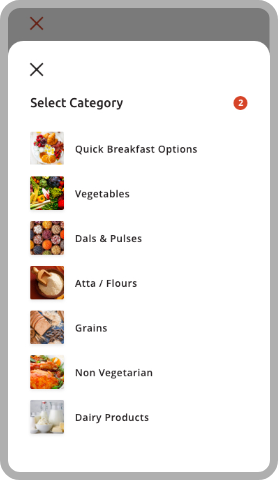
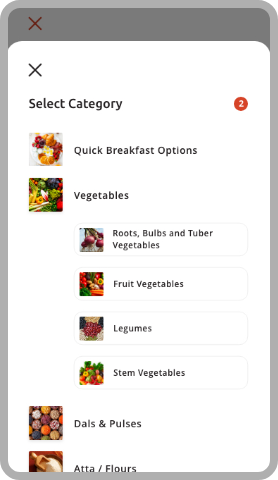
Take some time to explore the various categories and sub categories of the ingredients to familiarise yourself with the diversity & vastness of possibilities
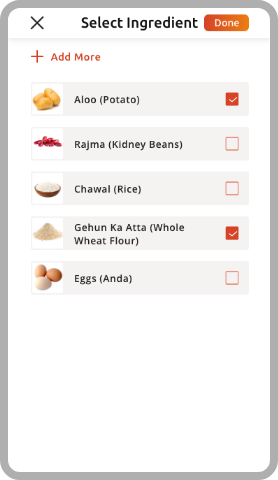
From the Select Ingredients Screen, please select AMIYAA’s List
Explore & select from vast variety of ingredients put together in AMIYAA’s List
Once you finish selecting your ingredients, press DONE at the bottom of the screen
Once all the ingredients are selected, press on Bottom Tab of CREATE MEAL PLAN

Select the meal to plan for by tapping on the + sign in the meal box

Click on the bottom tab + Add Dishes from and add dishes from ‘Selected Ingredients
Select Ingredients for your chosen meal from the shortlist and press DONE
Select from the Dish options suggested by Amiyaa or add your own and press DONE
If all looks good, press the DONE button on top right corner

Select the next meal to plan for as you did in Step 3 and proceed similarly

When all meals have been planned for, click on SAVE MEAL PLAN

You can share the meal plan by clicking on Share icon on top right corner of screen

You can add ingredients of your meal plan to your Shopping List by clicking on the Shopping Cart Icon on top right corner of the screen
You can download the meal plan into your Photo Gallery by clicking on the three dots arranged vertically on top right corner of the screen
You may also choose to Delete the meal plan from here and start afresh
NOTE: If you exit this module at any time before Saving Meal Plan, you will risk losing all data. You must therefore SAVE MEAL PLAN before exiting.
How to Plan your Meals from options saved in your Library
You should first familiarise yourself with the various folders of the Library in AMIYAA
From the ‘Select Ingredients’ screen, please select Go Directly to Meal Plan

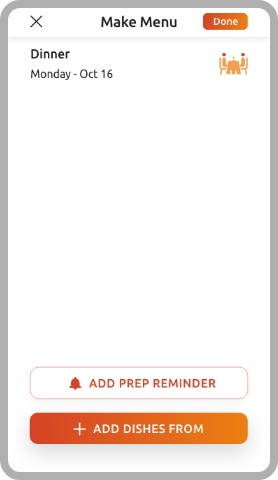
Select the meal to plan for by tapping on the + sign in the meal box
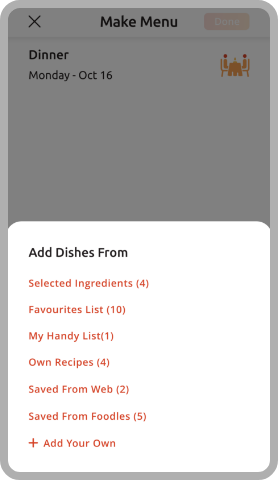
Click on the bottom tab of + Add Dishes From


Select Any of the Library Folders viz., Favourites List or My Handy List or Saved from Web or Saved from Foodles or Own Recipes to add dishes to the Meal Plan
Make as many selections as required

If all looks good, press on the DONE Button on top right corner
Select the next Meal(s) & proceed similarly
When all meals have been planned for, click on the bottom tab of SAVE MEAL PLAN
You can share the meal plan by clicking on Share icon on top right corner of screen

You can add ingredients of your meal plan to your Shopping List by clicking on the Shopping Cart Icon on top right corner of the screen
You can download the meal plan into your Photo Gallery by clicking on the three dots arranged vertically on top right corner of the screen
You may also choose to Delete the meal plan from here and start afresh
NOTE: If you exit this module at any time before Saving Meal Plan, you will risk losing all data. You must therefore SAVE MEAL PLAN before exiting.
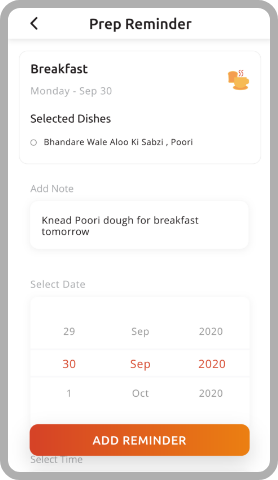
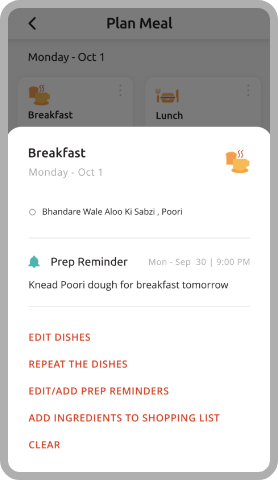
Once your Meal Plan is done, you may want to Edit it or set Prep Reminders for yourself
Go to ‘ALL MEAL PLANS” and click on the Meal Box you want to Edit or Set Prep Reminder for
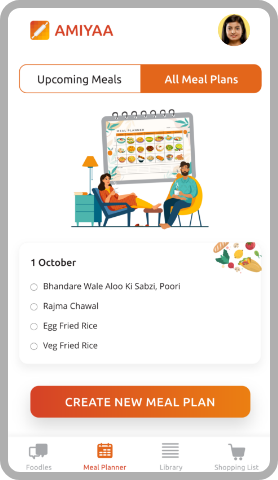

Choose the desired option and proceed with the task
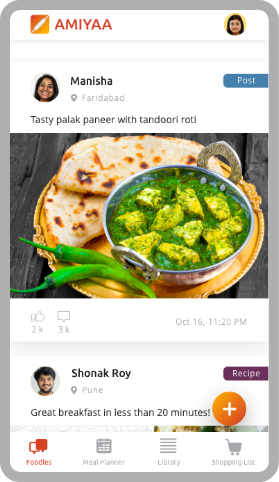
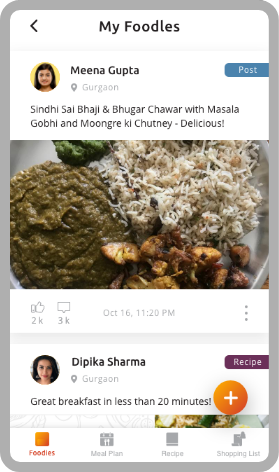
Foodles is a community of food enthusiasts, for the foodies and by those whose lives revolve around food. If Food interests you, you’ve got to be a foodler!
To participate in Foodles, press on the + sign at the bottom of the Foodles home screen
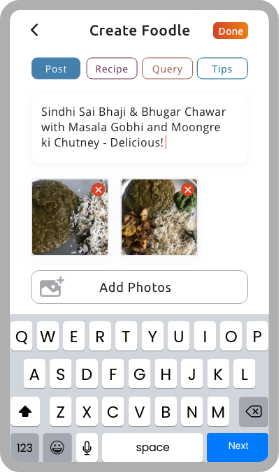
Select Post button at the top. Type out what you want to say
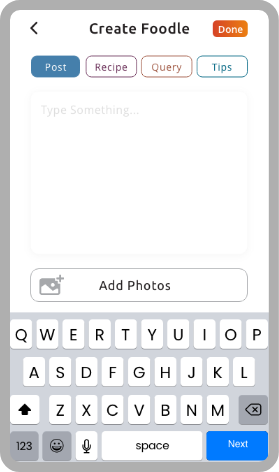
Add Photo(s) to make an interesting post and press Done on top right corner
Select Recipe button from the top
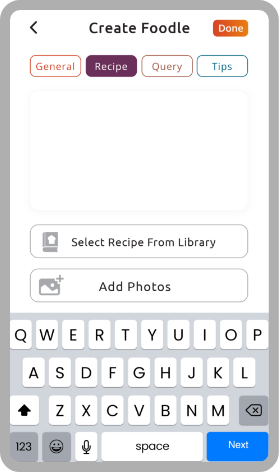
Type out your comment about the Recipe, if any
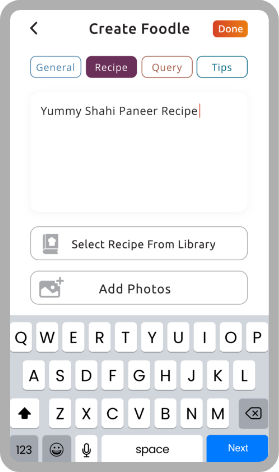
Select the button Select Recipe from Library
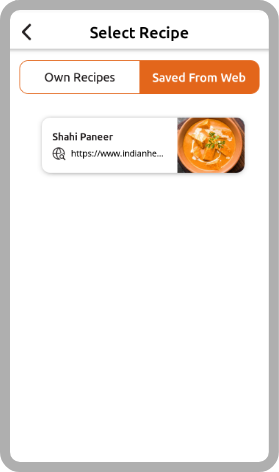
Select from Own Recipes or Saved from Web Folder
Add photo(s) if you would like
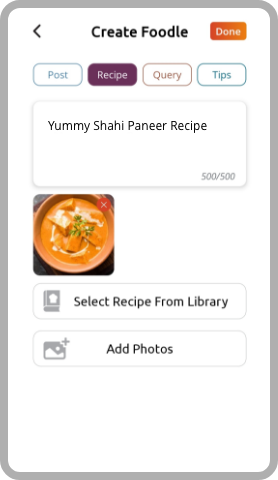
Press Done at top right corner
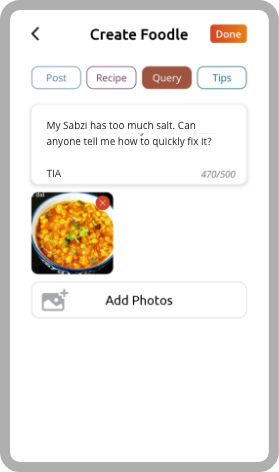
Select Query button from the top
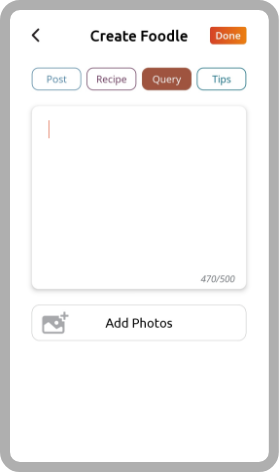
Type out your query
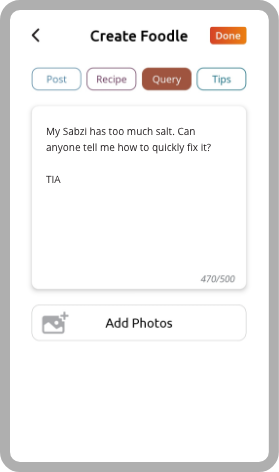
Add a Photo if required & press Done at top right corner
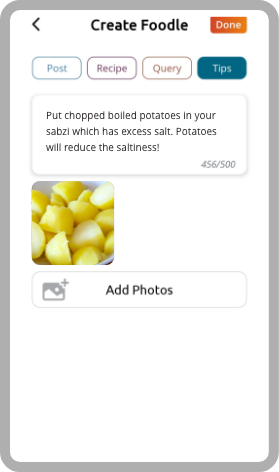
Select Tips button from the top
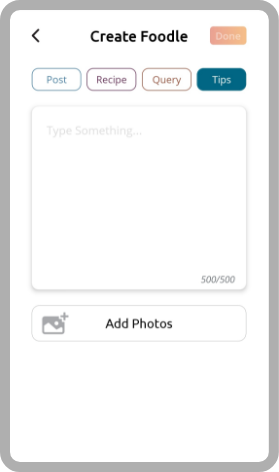
Type out your Tips / Suggestions
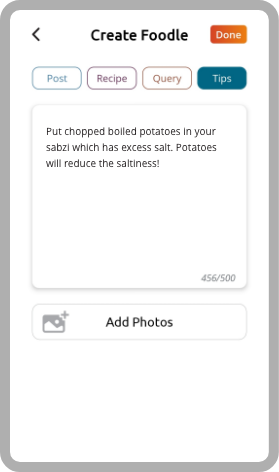
Add a Photo if required & Press Done at Top right corner
Click on your profile image button on top right of the home screen

Select My Foodles
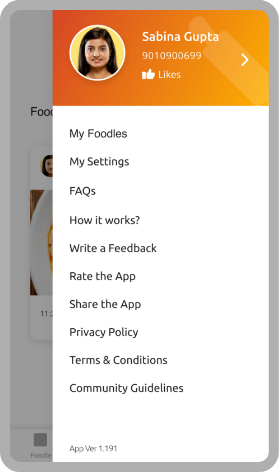
Click on the three dots arranged vertically next to the Post you want to Edit/Delete and choose the required options
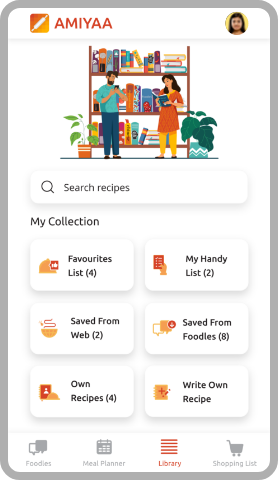
The Library is your personal collection of Recipes and Food information. It will need to be built by you as per your tastes and preferences. You can use any of these Recipes and lists to make your meal plan easily
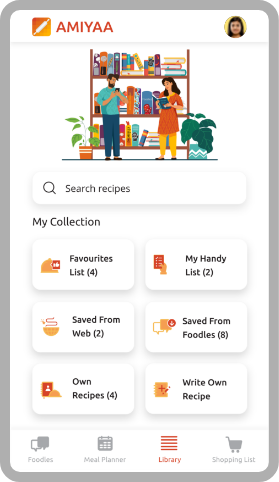
Please note that you can ‘Favourite’ any/all Dishes that you add
in your various folders in the Library.
Use the Favourite
Folder for Quick Meal planning
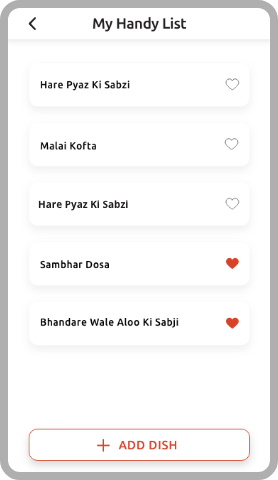
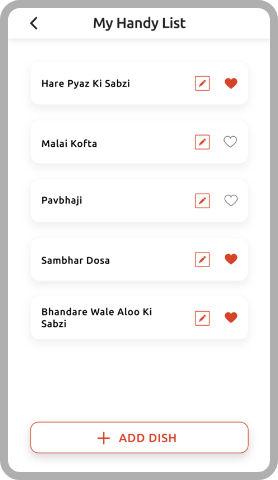
Making Favourites in MY HANDY LIST
Go to my “Handy List” folder in the library. Select on the heart icon to make as many dishes your favourites as you would like
Making Favourites in ‘Saved From Web’
Click on any of the links saved
Click on the three dots arranged vertically on the top right corner of the screen
Select the Add to Favourites List from the options in the bottom banner
Making Favourites in ‘Saved From Foodles’
Click on any of the links saved
Click on the three dots arranged vertically on the top right corner of the screen
Select the Add to Favourites List from the options in the bottom banner
Making Favourites in ‘Own Recipes’
Click on any of the recipes saved
Click on the three dots arranged vertically on the top right corner of the screen
Select the Add to Favourites List from the options in the bottom banner
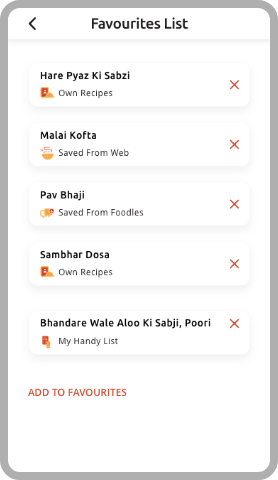
You can use Favourites List for quick Meal Planning by simply adding the dishes to your Meal Plan from here
In the Meal Planner Section skip Ingredient Selection and “Go directly to Meal Plan”
Select the meal that you want to plan
Click on the bottom tab of “+ ADD DISHES FROM “
Select ‘Favourites List’ option to add dishes to the meal plan
Make selection of Dish from this list and make more selections if required
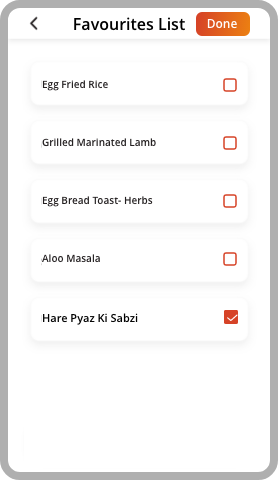
If all looks good, press on the Done button on top right corner
Select the next meal and proceed similarly
NOTE: You can add Dishes to your Meal plan in many ways. Do remember to ‘Save Meal Plan’ before exiting
You can use Favourites List for quick Meal Planning by simply adding the dishes to your Meal Plan from here
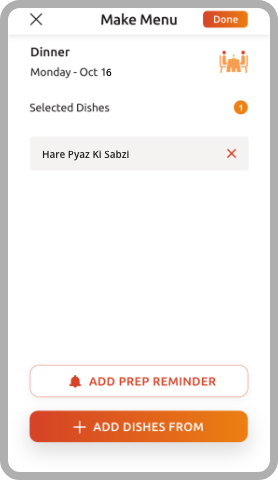
You can remove any item/ Dish from Favourites List by selecting the x sign on the right side
Please note that all Dishes that you add during Meal Planning to personalize your Menu get added to My Handy List. In addition, you can populate this list separately too as per below steps:
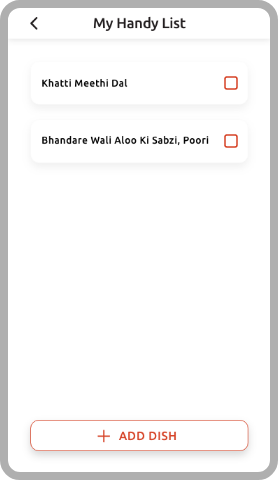
Select the My Handy List folder from the Library
Press the + Add Dish tab at the bottom of the screen
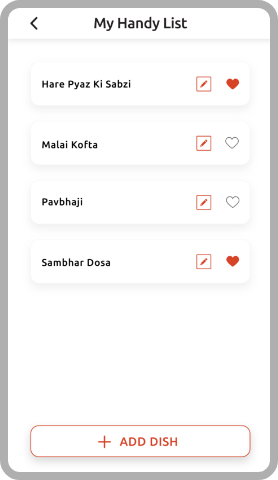
Add Dish name or Dish combinations that are preferred by your family and Press on the Add Dish tab
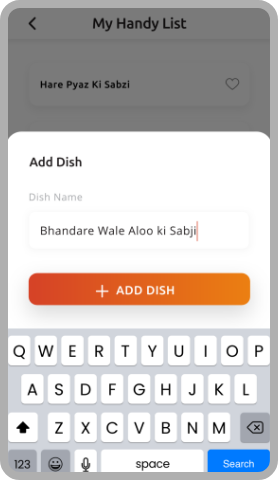
Repeat for as many times as you want and keep adding favourite dishes here
You can use My Handy List for quick Meal Planning by simply adding the dishes to your Meal Plan from here
In the Meal Planner Section skip Ingredient Selection and Go directly to Meal Plan
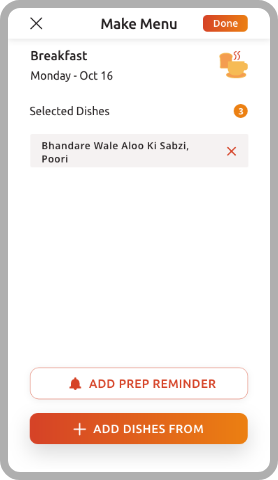
Select the meal that you want to plan
Click on the bottom tab of + ADD DISHES FROM
Select My Handy List option to add dishes to the meal plan
Make selection of dish from this list and make more selections if required
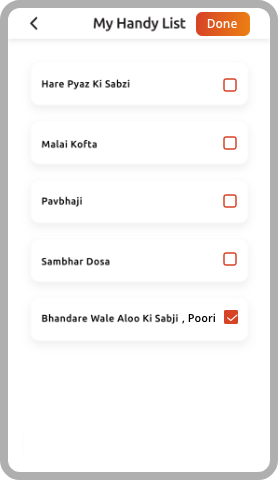
If all looks good, press on the Done button on top right corner
Select the next meal and proceed similarly
NOTE: You can add dishes to your meal plan in many ways. Do remember to Save Meal Plan before exiting
You can access the web for searching the recipes in two ways
A. On the home page of library, click on the Search Recipes bar
B. Select Search on Web option from here
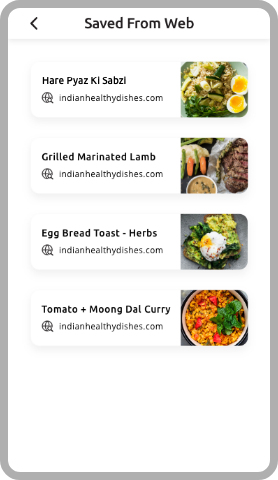
A. On the home page of library, Select the Saved From Web folder
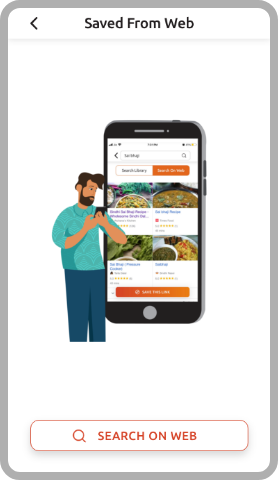
B. Press on ‘Search on web’ tab at the bottom of the screen
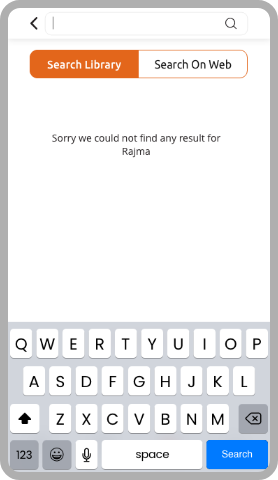
Once you have selected the ‘Search on Web’ from any of the above ways follow the below steps:
Type name of dish or Recipe you are looking for and press Enter
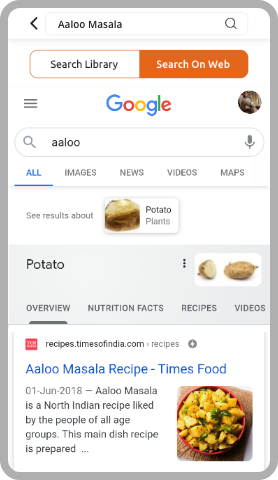
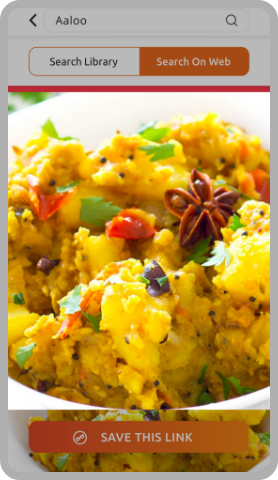
Scroll down to review the search findings and select the recipe which you want to Save
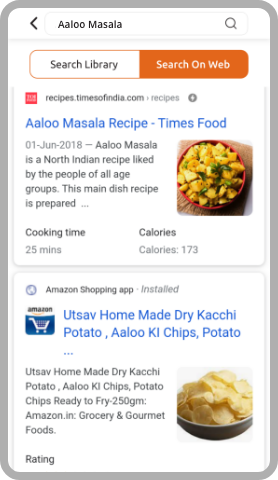
If you are sure you want to Save this recipe, take a moment and take a screenshot of the image of the dish and save it in your gallery
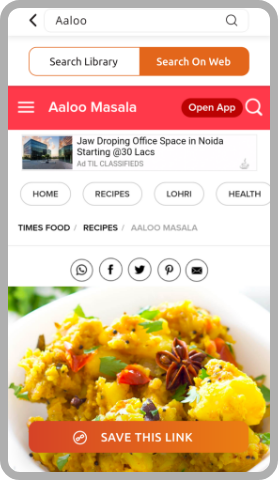
Also do familiarize yourself with the prime ingredients so you are able to add and save the details along with the link
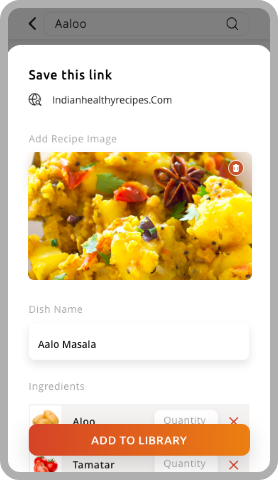
Press on ‘Save this link’ tab at the bottom of the screen

Give your Recipe a name and add photo that you have saved earlier in the Dish Image
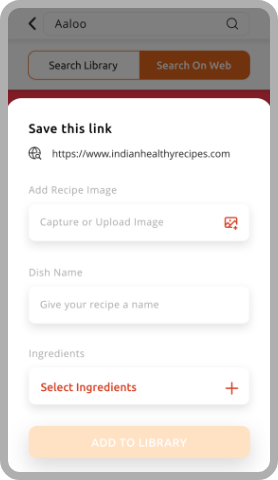
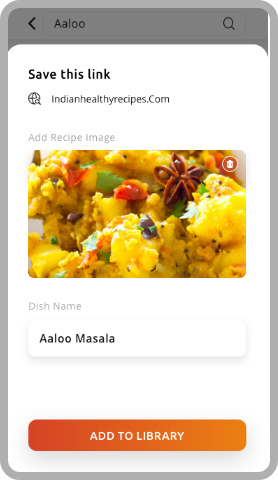
Add primary ingredients required for preparing this dish. Add any other details or note if required

Press on the ADD TO LIBRARY button and your Link/URL has been saved along with other details manually added by you
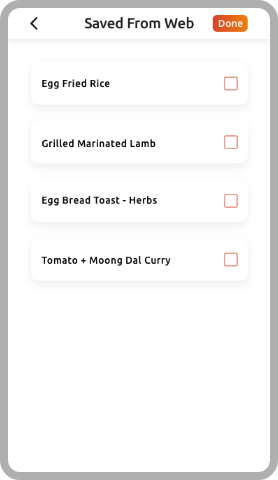
You can use ‘SAVED FROM WEB’ for quick Meal Planning by simply adding the dishes to your Meal Plan from here
In the Meal Planner Section skip Ingredient Selection and “Go directly to Meal Plan”
Select the meal that you want to plan
Click on the bottom tab of “+ ADD DISHES FROM”
Select ‘Saved From Web’ option to add dishes to the meal plan
Make selection of Dish from this list and make more selections if required
If all looks good, press on the Done button on top right corner
Select the next meal and proceed similarly
You can add Dishes to your Meal plan in any many ways. Do remember to ‘Save Meal Plan’ before exiting.
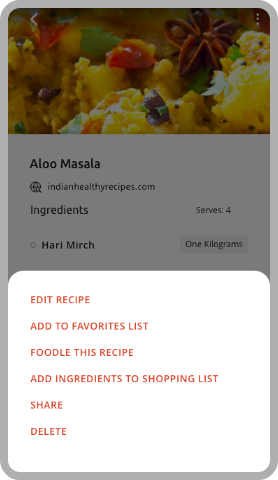
In Saved From Web feature, you also have the option of Edit Recipe / Add to Favourite List / Foodle this Recipe / Share / Delete
Select the Link of the Saved Recipe
Click on the three dots arranged vertically on top right corner of the screen and choose any of the options in the bottom banner to proceed
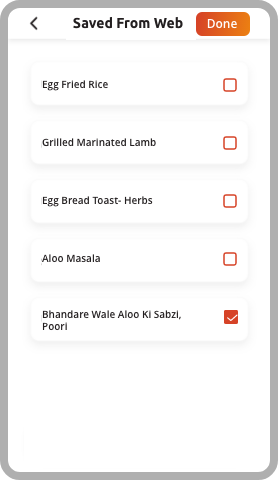
To Save a Recipe from Foodles
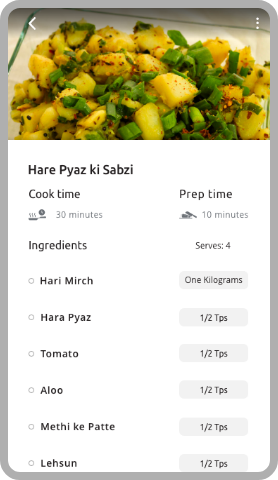
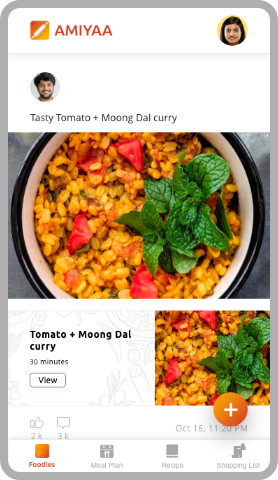
Click on the view button in the Post of the Recipe
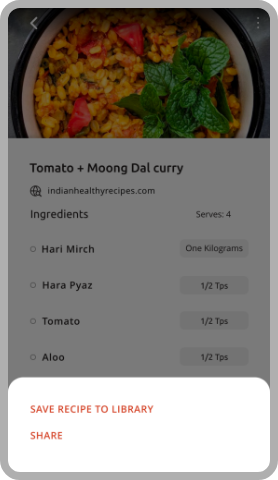
When the Recipe opens, Click on the three dots arranged vertically on top right corner of the screen
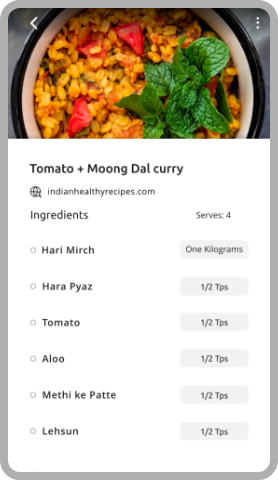
Save Recipe to Library
In the Meal Planner Section skip Ingredient Selection and “Go directly to Meal Plan”
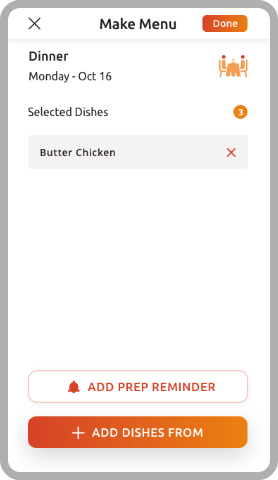
Select the meal that you want to plan
Click on the bottom tab of “+ ADD DISHES FROM”

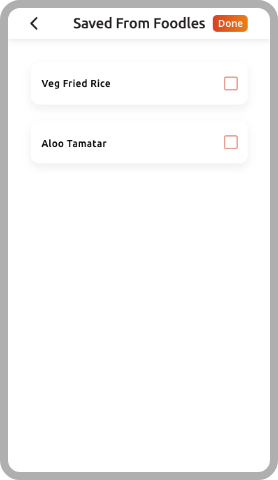
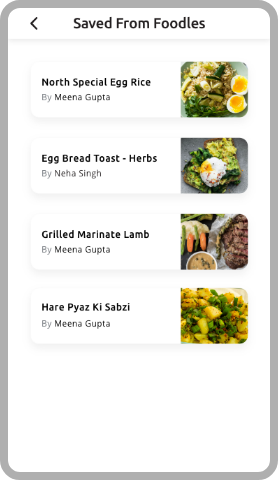
Select ‘SAVED FROM FOODLES’ option to add dishes to the meal plan
Make selection of Dish from this list and make more selections if required
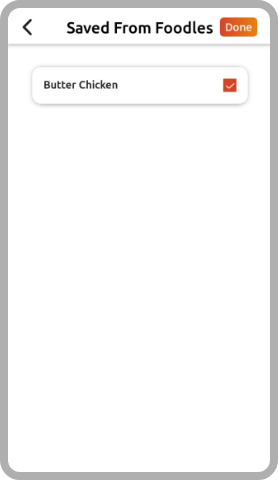
If all looks good, press on the Done button on top right corner
Select the next meal and proceed similarly
You can add Dishes to your Meal plan in many ways. Do remember to ‘Save Meal Plan’ before exiting.
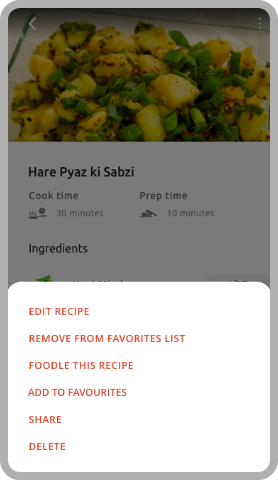
In 'SAVED FROM FOODLES' feature, you also have the option of Edit Recipe / Add to Favourites List / Add Ingredients to shopping List / Share / Delete
Select the Link of the Saved Recipe
Click on the three dots arranged vertically on top right corner of the screen and choose any of the options in the bottom banner to proceed
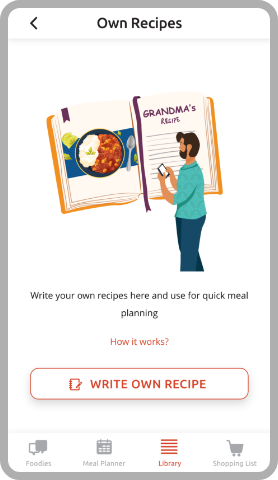
This is a great way to consolidate all the scribbled recipes that you have in multiple places. You can get started with typing your OWN RECIPE in the following two ways
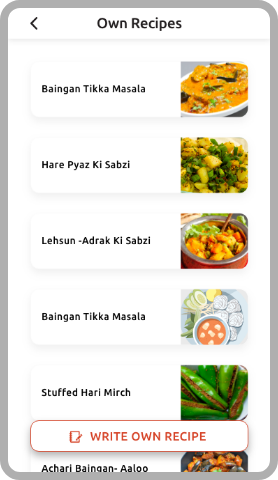
A. On the home page of library, click on the ‘Write Own Recipe’ button
A. Select the ‘Own Recipes’ folder
B. Press on ‘Write own Recipe’ tab at the bottom of the screen
Once you have selected the ‘Write Own Recipe’ option from any of the above ways, follow the following step:
Fill the required information in the simple format provided, add an image for reference and press Save

You can use ‘OWN RECIPES’ for quick Meal Planning by simply adding the dishes to your Meal Plan from here
In the Meal Planner Section skip Ingredient Selection and “Go directly to Meal Plan”
Select the meal that you want to plan
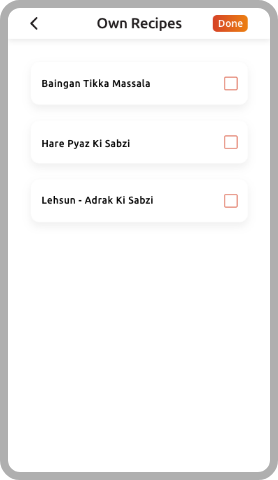
Click on the bottom tab of “+ ADD DISHES FROM “. Select ‘OWN RECIPES’ option to add dishes to the meal plan
Make selection of Dish from this list and make more selections if required
If all looks good, press on the Done button on top right corner
Select the next meal and proceed similarly

You can add Dishes to your Meal plan in many ways. Do remember to ‘Save Meal Plan’ before exiting.
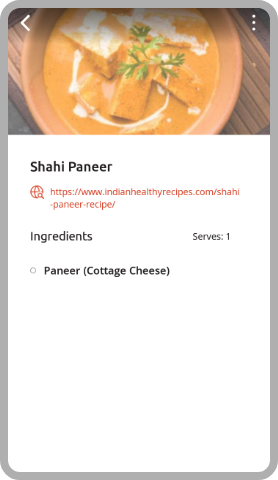
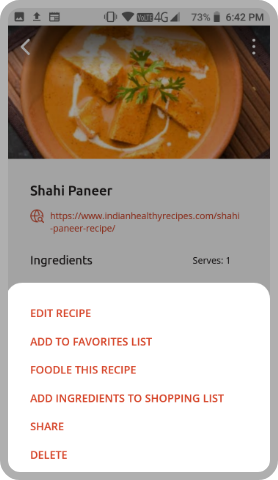
In OWN RECIPES feature, you also have the option of Edit Recipe / Add to Favourites List / Foodle this Recipe / Add Ingredients to shopping List / Share / Delete
Select the Link of the Saved Recipe
Click on the three dots arranged vertically on top right corner of the screen and choose any of the options in the bottom banner to proceed
“Shop with purpose” and never run out of required ingredients when you are cooking. With all your household requirements listed in one place, you will never have to struggle with multiple lists ever again
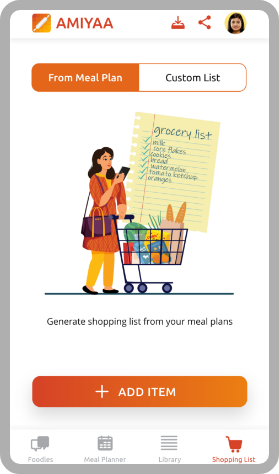
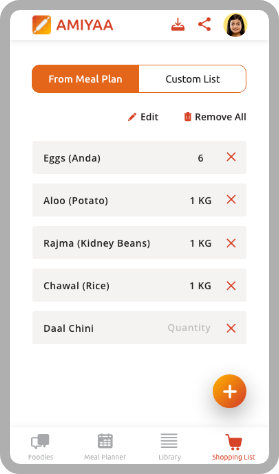
The Shopping List Module has two parts: From Meal Plan & Custom List
This is the list of items generated from the Meal Plan when you choose the option to add ingredients to the Shopping List
You can click on the tab at bottom of the screen to add items here
You can edit the list and add the required quantities of each here
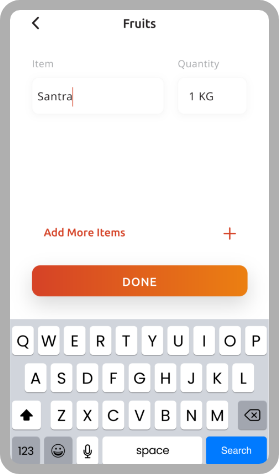
Once editing is done, select the Done bar at the bottom to return to Home screen
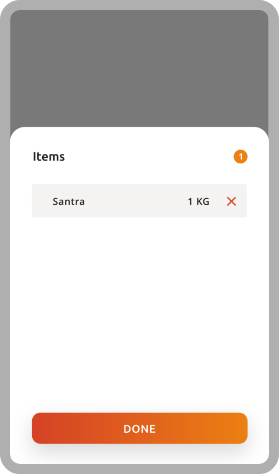
You can remove items not required by you by clicking on the x icon in front of each item. Or you can remove the entire list by selecting Remove all option on the screen
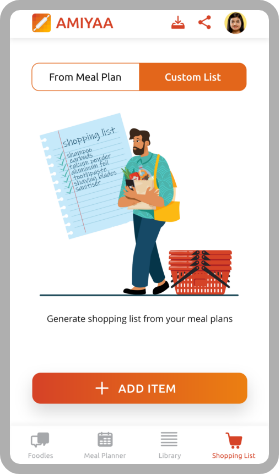
Here you can generate your own custom list, which is in addition to the Meal Plan requirements. This is ideal for your Monthly Household Requirement planning
Press on the ‘+’ Add Item bar on the bottom of the screen to get started
First Select from the Main categories of Food & Dining Supplies OR Household/Personal Supplies
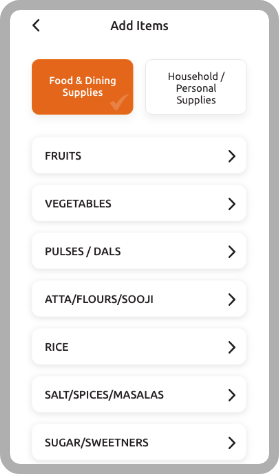
In each of these categories, select any of the sub categories and make your list as per requirement. Once done press “Add to list” button on top right
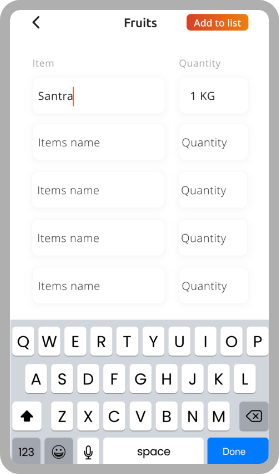
Repeat the above steps for all requirements
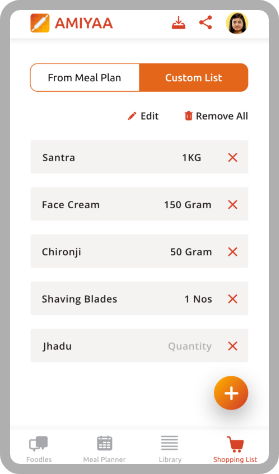
You can Save and Share the Shopping Lists with others through the respective icons on top right of the screen